Assembling the walls
Once the door and window frames are assembled, you can start nailing walls together. Start by scattering enough 921/4-in. studs to frame one of the exterior through walls, which I always build and raise first. Later you’ll frame and raise the butt walls, which are generally shorter and rise up between the through walls. Scatter the studs on the floor perpendicular to the plates, one stud per layout mark and three studs for each corner and channel.
As a beginning carpenter, one of my jobs was to set up and nail together all the corners and channels needed for an entire building. Some builders still do this, but I’ve found that it works better to build everything flat on the deck as you nail the wall together. Keep your eyes open for any studs that are badly bowed or twisted and put these aside to use for blocks and roof braces. A bowed stud can leave a bump in a wall once the drywall is nailed on. This can cause problems for finish carpenters who install cabinets, countertops, or
 interior trim. Framing carpenters need to think about the other tradespeople who will work behind them. Tilesetters like square rooms. Cabinetmakers and finish carpenters like plumb, straight walls. Always try to do work you would be proud to show to your mother or your children.
Now, using the claws of your hammer, pry apart the top and bottom wall plates that you temporarily nailed together. Be sure to bend or pull out the 8d nails used to tack the plates together so that you don’t get a puncture wound as you work. (Because carpenters can’t work long without getting their share of wounds and bruises, it’s a good idea to keep a first-aid kit on the job site and your tetanus immunization up to date.)
Move the top plate straight up to the upper ends of the studs, keeping the layout marks aligned. I’ve occasionally seen framers grab the plate, turn themselves and it around, and place it in nailing position. Switching the stud layout end for end on the top plate makes for some interesting walls, as you can imagine.
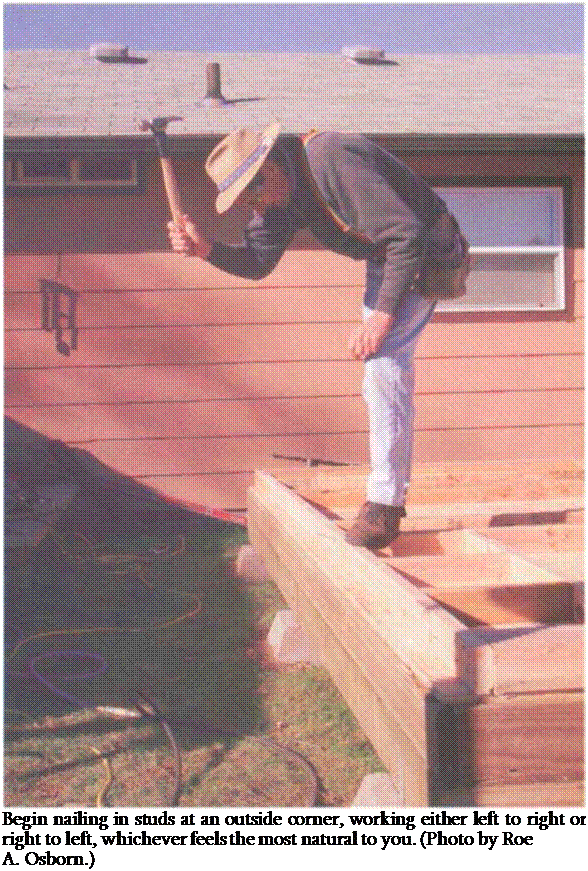
Begin nailing in studs at an outside corner. You’ll find that consistently working either left to right or right to left has a natural feel to you, and over time you’ll develop a rhythm to nailing in studs that involves not only your arms and hands but also your entire body (see the photo at right). Even your feet can be trained to move studs into position for nailing. Framing can become like a dance, where every movement is coordinated and flows into the next. (I have had it happen that my movements became so fluid that time seemed to stand still as I nailed down the plate line. Two of my children are professional dancers. They tell me the same thing often happens to them during a dance production.)
Corners and channels can be built in different ways, depending on the size of the wall and local preferences (see the drawing on p. 116). A three-stud corner is the most basic configuration. If you prefer, you can save wood by building either a two-stud corner or a blocked-up corner. With a two-stud corner, the first


Leave a reply