STEP 4 SECURE THE TRUSSES TO THE INTERIOR WALLS
On small houses, trusses are generally engineered to obtain their support from exterior walls without needing further support from interior walls. Still, it’s not uncommon for trusses to cross over and bear on interior walls. In most regions, these trusses can usually be nailed directly to the interior wall with two 16d toenails on one side and one on the opposite side. This is not the case, however, if you live in a part of the country where the weather may be freezing one day and boiling the next. In areas with extreme temperature fluctuations, trusses must be able to expand and contract freely. Otherwise, drywall ceilings nailed to these trusses tend to crack. Check with your building department for the code requirements in your town or city. In addition, ask area builders what the local practice is.
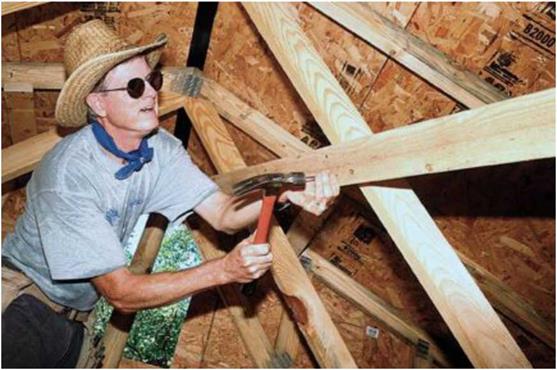
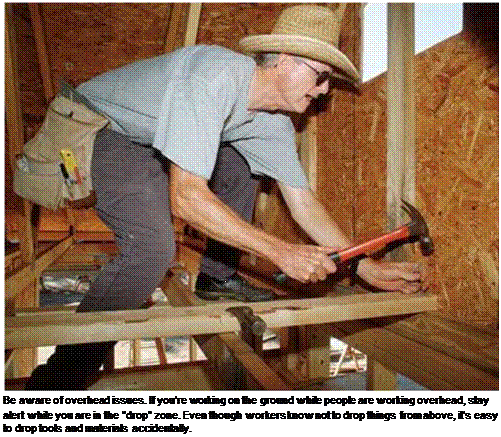
 Installing permanent bracing inside. Shown in the photo on the facing page, a diagonal brace from the top of a truss down to a wall plate helps hold the trusses plumb. Install a 1×6 or 2×4 catwalk on top of the trusses’ bottom, or joist, chord. The brace should be nailed into every joist chord and into the end-wall top plates (photo below). Nailing 2x bracing across the webbing provides the roof structure with additional rigidity (photo above). [Photo on the facing page by Don Charles Blom, courtesy Fine Homebuilding magazine © The Taunton Press, Inc.]

To secure a truss to a wall while still allowing it to adapt to fluctuations in temperature and humidity, use a truss clip, as shown in the illustration on the facing page. These clips, which are nailed both to the wall plates and to the truss, feature a slot that allows the truss to move up and down as it expands and contracts— just make sure the nail is slightly loose in the joist chord.


Leave a reply