STEP 1 COMPLETE THE ESSENTIAL ROOF FRAMING
In many house designs, a section of the main roof extends over the porch. To complete the
installation of the roof trusses, roofing material, and exterior trim, the truss support beams over the porch must be cut and fastened to the wall framing. As shown in the illustration above, each beam rests in a pocket formed by a pair of jack studs framed in the house wall. The top of the beam is flush and level with the top of the wall plates.
In addition to nailing the beam to the wall framing, I strengthen the connection by nailing an 18-in. metal strap across the top of the beam and the double top plate of the wall. Beams made from rough 2x lumber can
 |
 |
later be covered with aluminum cladding, as described in Chapter 6.
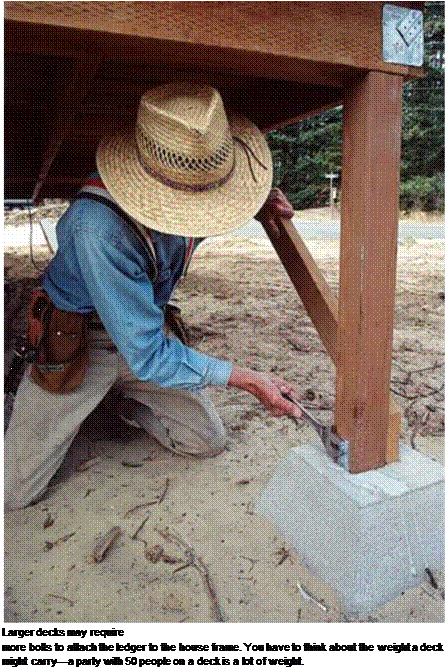
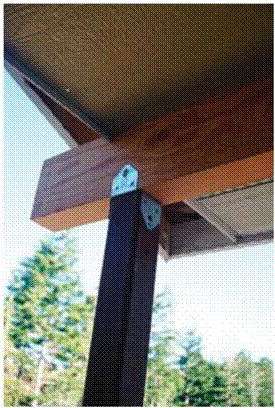
If it’s not possible to install permanent posts at this stage, temporary posts can be used to support porch ceiling beams. When you install permanent posts, be sure to secure them with framing connectors—a post base at the bottom and a post cap at the top that is fastened to the post and to the beams (see the photos above).


Leave a reply